Group Management
A group is a named collection of users and service accounts that share access to a set of permissions assigned by the group manager (an administrative user). This keeps permission management consistent and auditable; for a full description of how groups fit into the Workbench access model, see Understanding the Workbench Permission Model.
Creating a Group
You can create a group in the Workbench console or at the command line.
To create a group in the Administration page of the Workbench console,
select the Settings icon, choose the Groups tab, and then select
+ Create Group.
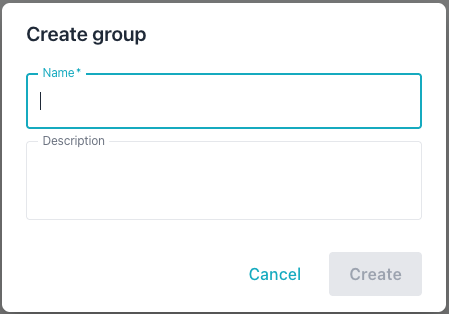
Provide the following details for the new group:
- Enter a group name in the
Namefield. - Enter a user-friendly description in the
Descriptionfield.
Then, select Create to add the new group to the list on the Groups page.

You can also create a group at the command line. In the following
example, the -add-group command creates a group named dba-team; the
-group flag supplies the group name:
./bin/ai-dba-server -add-group -group dba-team
The response confirms the new group and reports its assigned identifier:
Group 'dba-team' created successfully (ID: 3)
Adding Members
You can add a member to a group in the Workbench console or at the command line.
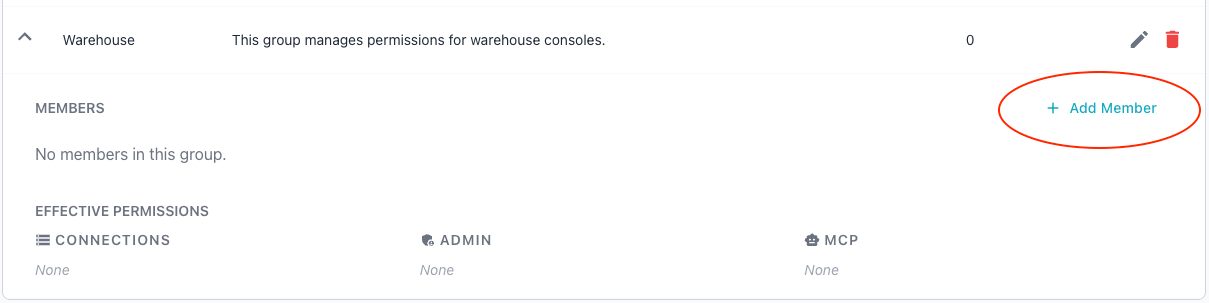
To add a member to a group, use the down-arrow to the left of the
group name to expand the group description. Then, select the
+ Add Member icon at the far right of the entry:
When the Add member popup opens, the Workbench prompts you for the new
member:
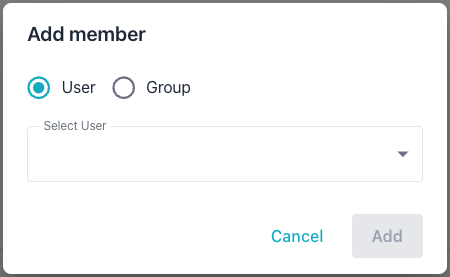
Complete the popup to add a user to the group:
- Select either the
UserorGroupradio button to indicate whether the new group member is an individual member or a sub-group. - Use the
Select Userdrop-down to select the user account or group that the Workbench adds to the group.
Then, select Add to add the member and close the popup.
You can also add members at the command line with the -add-member command:
- Include the
-usernameflag to add a user or service account. - Include the
-member-groupflag to add a nested group.
You must specify only one of these flags; the command rejects both flags if used together.
In the following example, the -add-group command creates the
dba-team group; then, the -add-member command then adds the user alice
to it:
./bin/ai-dba-server -add-group -group dba-team
./bin/ai-dba-server -add-member -group dba-team -username alice
The response confirms the membership:
User 'alice' added to group 'dba-team'
In the following example, the -add-group command creates the
readonly group; the -add-member command then nests it inside
dba-team:
./bin/ai-dba-server -add-group -group readonly
./bin/ai-dba-server -add-member -group dba-team -member-group readonly
The response confirms the nested membership:
Group 'readonly' added to group 'dba-team'
Managing Group Membership
You can review the configured groups in the Workbench console or at the command line.
To review a list of groups in the Administration page of the
Workbench console, select the Settings icon and then choose Groups
from the navigation pane.
Select the arrow to the left of a group name to view details about the group.
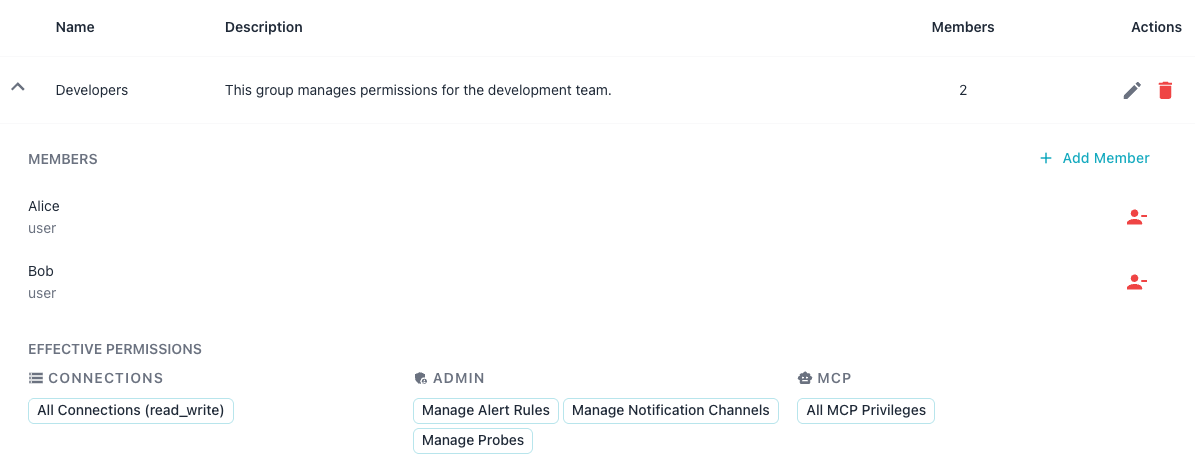
The expanded view displays:
- The group's members and their account types in the
MEMBERSsection. - The connections and corresponding access levels in the
CONNECTIONSsection. - The administrative permissions granted to the group in the
ADMINsection. - The MCP permissions the group holds in the
MCPsection.
These sections reflect the group's current grants; to modify them, use the
Permissions dialog described in Permission Management.
To add a member from this view, select + Add Member in the MEMBERS
section; see Adding Members.
You can also list groups at the command line. In the following example,
the -list-groups command displays every group with its identifier,
group name, creation time, and description:
./bin/ai-dba-server -list-groups
The command prints the groups in a table:
Groups:
================================================================================
ID     Name                 Created              Description
--------------------------------------------------------------------------------
3      dba-team             2026-06-17 09:42     Database administrators
4      readonly             2026-06-17 10:05     Read-only analysts
================================================================================
To review the privileges assigned directly to a group at the command
line, use the -show-group-privileges command. In the following
example, the -show-group-privileges command lists the privileges for
the dba-team group; the -group flag names the group:
./bin/ai-dba-server -show-group-privileges -group Mgmt
The command displays the MCP and connection privileges for the group:
Auth store: /var/lib/ai-workbench/data/auth.db

Privileges for group 'Mgmt':
======================================================================

MCP Privileges:
  - [resource] pg://connection_info
  - [tool] describe_probe
  - [tool] execute_explain
  - [tool] get_metric_baselines

Connection Privileges:
  - Connection 3: read_write
  - Connection 4: read
======================================================================
When the group has no privileges in a category, the command shows None
for that category:
Privileges for group 'dba-team':
======================================================================
MCP Privileges: None

Connection Privileges: None
======================================================================
Removing Members
You can remove a member from a group in the Workbench console or at the command line.
To remove a member in the console, expand the group row and locate the
member in the MEMBERS section. Select the red remove icon to the
right of the member's name:
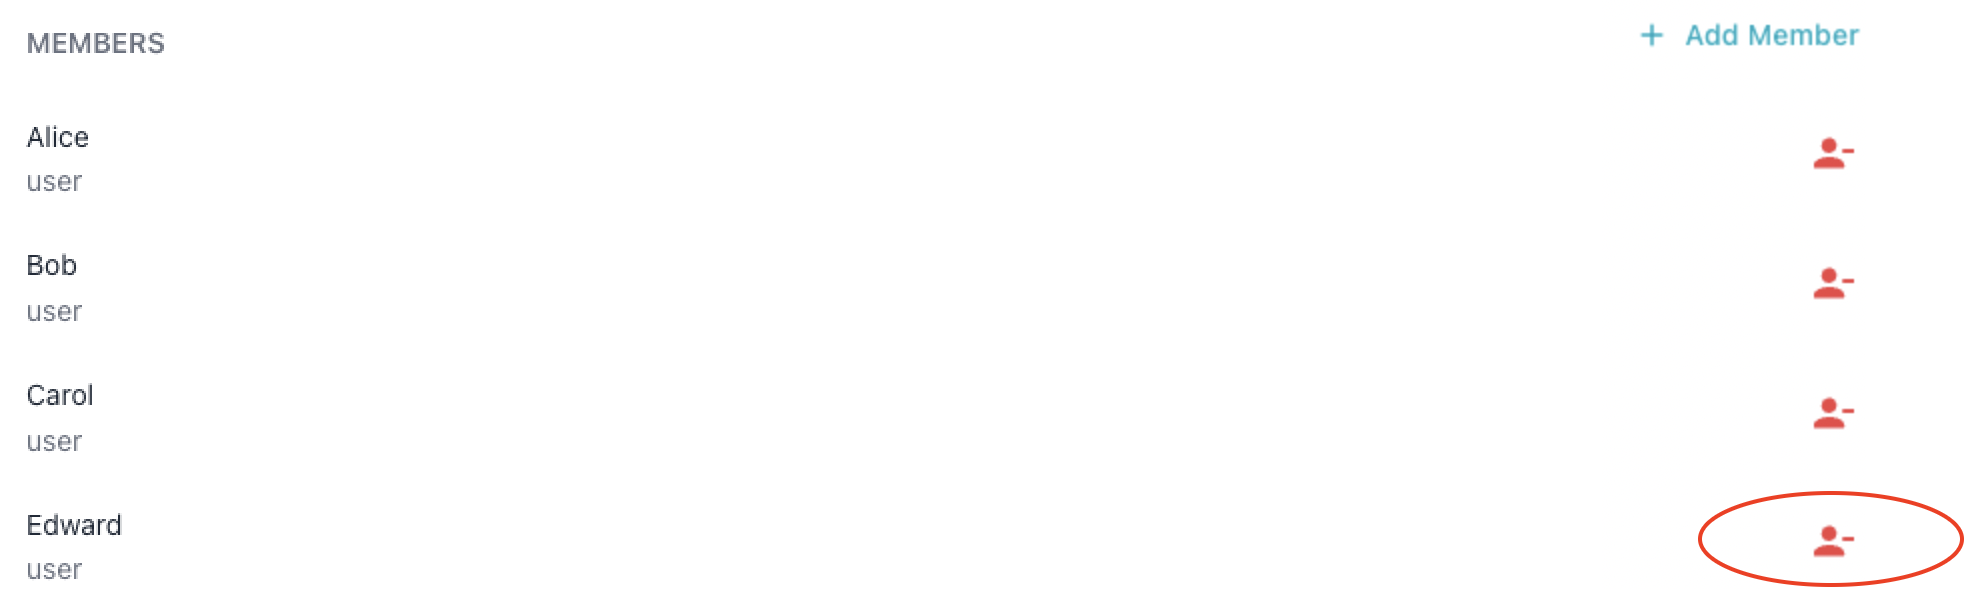
The Workbench removes the member from the group immediately.
You can remove a member from a group at the command line with the
-remove-member command. Use the -username flag to remove a user or
service account; use the -member-group flag to remove a nested group.
You must specify exactly one of these flags.
In the following example, the -remove-member command removes the user
Edward from the Mgmt group:
./bin/ai-dba-server -remove-member -group Mgmt -username Edward
The command confirms the change:
User 'Edward' removed from group 'Mgmt'
In the following example, the -remove-member command removes the
nested readonly group from the dba-team group:
./bin/ai-dba-server -remove-member -group dba-team -member-group readonly
The command confirms the change:
Group 'readonly' removed from group 'dba-team'
Deleting a Group
You can delete a group in the Workbench console or at the command line.
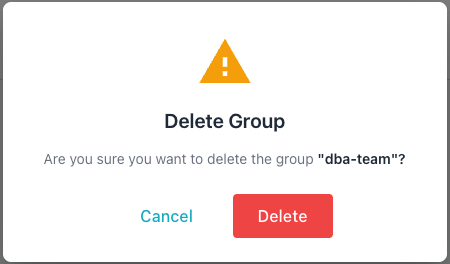
To delete a group in the console, open the Groups tab, and then select
the Delete icon (the garbage can) for the group you wish to remove. Confirm
the deletion when prompted:
You can also delete a group at the command line. In the following
example, the -delete-group command removes the dba-team group; the
-group flag names the group to delete:
./bin/ai-dba-server -delete-group -group dba-team
Deleting a group removes all of its memberships and privilege assignments; the system cannot recover these once the group is gone. The command confirms the deletion:
Group 'dba-team' deleted successfully